Creating a professional brochure layout in InDesign requires understanding the fundamentals of grids, typography, color hierarchy, and image placement within a structured template. The process begins by establishing your document dimensions—typically 8.5″ x 11″ for single sheets or 11″ x 8.5″ for tri-folds—then building a master page with guides that ensure consistent margins, column structures, and baseline grids. For example, a real estate agency creating a property brochure would start by setting up a three-column grid with quarter-inch margins, place their logo on the master page, and define paragraph styles for headlines and body text before importing any content. InDesign streamlines this workflow through its grid systems, styles, and reusable templates, allowing you to maintain visual consistency across multiple pages while reducing production time.
Rather than manually aligning every element, you work within a pre-built framework that controls spacing, alignment, and proportions automatically. The software’s ability to link text frames, manage color swatches globally, and export to print-ready PDFs makes it the industry standard for brochure design. Professional brochure layout isn’t just about making something look good—it’s about guiding the reader’s eye to the most important information, maintaining brand consistency, and creating a layout that works both in print and digitally. Understanding how to leverage InDesign’s tools properly separates amateur layouts from polished, publication-quality designs.
Table of Contents
- What Are the Essential Elements of a Professional Brochure Grid?
- How Should You Structure Typography and Color Hierarchy?
- What Role Do Images and White Space Play in Professional Layouts?
- How Do You Set Up Effective Master Pages and Templates?
- What Are Common Mistakes in Professional Brochure Design?
- How Should You Organize Multi-Page Brochure Flows?
- Looking Forward: Digital and Print Integration in Brochure Design
- Conclusion
- Frequently Asked Questions
What Are the Essential Elements of a Professional Brochure Grid?
A professional brochure layout begins with a solid grid system that defines how content and images relate to each other spatially. The grid acts as an invisible framework—typically built using guides in Indesign—that ensures every element aligns intentionally rather than appearing randomly placed. A two-column grid works well for simple layouts with large images, while a three-column or four-column grid provides more flexibility for text-heavy designs with mixed image sizes. For example, a medical clinic’s brochure might use a two-column grid on the cover to showcase a large patient testimonial image, then switch to a three-column layout on interior pages to accommodate multiple service descriptions alongside smaller photos. Margins and bleed areas are equally critical.
A standard brochure needs at least 0.5 inches of white space around the edge as a safety margin, with an additional 0.125-inch bleed area for any color or images that extend to the trim edge. This prevents your design from looking cramped and gives the printer a buffer zone for trimming variations. Without proper margin planning, text or key visual elements can get cut off during the printing process, destroying your professional appearance instantly. The baseline grid—a horizontal grid that controls text line heights—ensures that text lines across different columns align perfectly from top to bottom. This creates a visual rhythm that makes the brochure feel intentional and refined. Setting your baseline grid to match your body text line height (typically 14-16 points for body copy) means you’ll snap paragraph styles to this grid, creating perfect alignment without manual adjustment.

How Should You Structure Typography and Color Hierarchy?
Typography hierarchy in a professional brochure requires distinct visual differences between headlines, subheadings, body text, and captions. Rather than using multiple fonts, successful designs typically limit themselves to two complementary typefaces—one for headlines (often sans-serif like Helvetica or Montserrat) and one for body text (often serif like Garamond or sans-serif like Open Sans). The hierarchy comes from size, weight, color, and spacing, not from typeface variety. A nonprofit’s annual report might use a bold 48-point headline in the organization’s brand color, a 24-point subheading in a darker gray, and 11-point body text in near-black—all using the same two fonts, but with clear visual separation. Color hierarchy works through both saturation and contrast. Your primary brand color should appear in headlines, call-to-action buttons, or key visual elements, while secondary colors support these focal points.
The warning here is critical: using too many colors confuses readers and dilutes your message. A professional brochure typically uses no more than three to four colors, including black for body text. If you use a colorful background, reduce the saturation of that background so text remains readable—never print dark text on a dark background or light text on a light background, as this creates contrast issues that harm accessibility and readability. Paragraph styles in indesign are essential for maintaining consistency. Define styles for “Headline,” “Subheading,” “Body Text,” and “Caption,” then apply these throughout your layout. When you need to adjust typography, you can update the style once and InDesign applies the change globally. This is impossible to achieve reliably through manual formatting, and it’s the difference between a quick revision and hours of re-work.
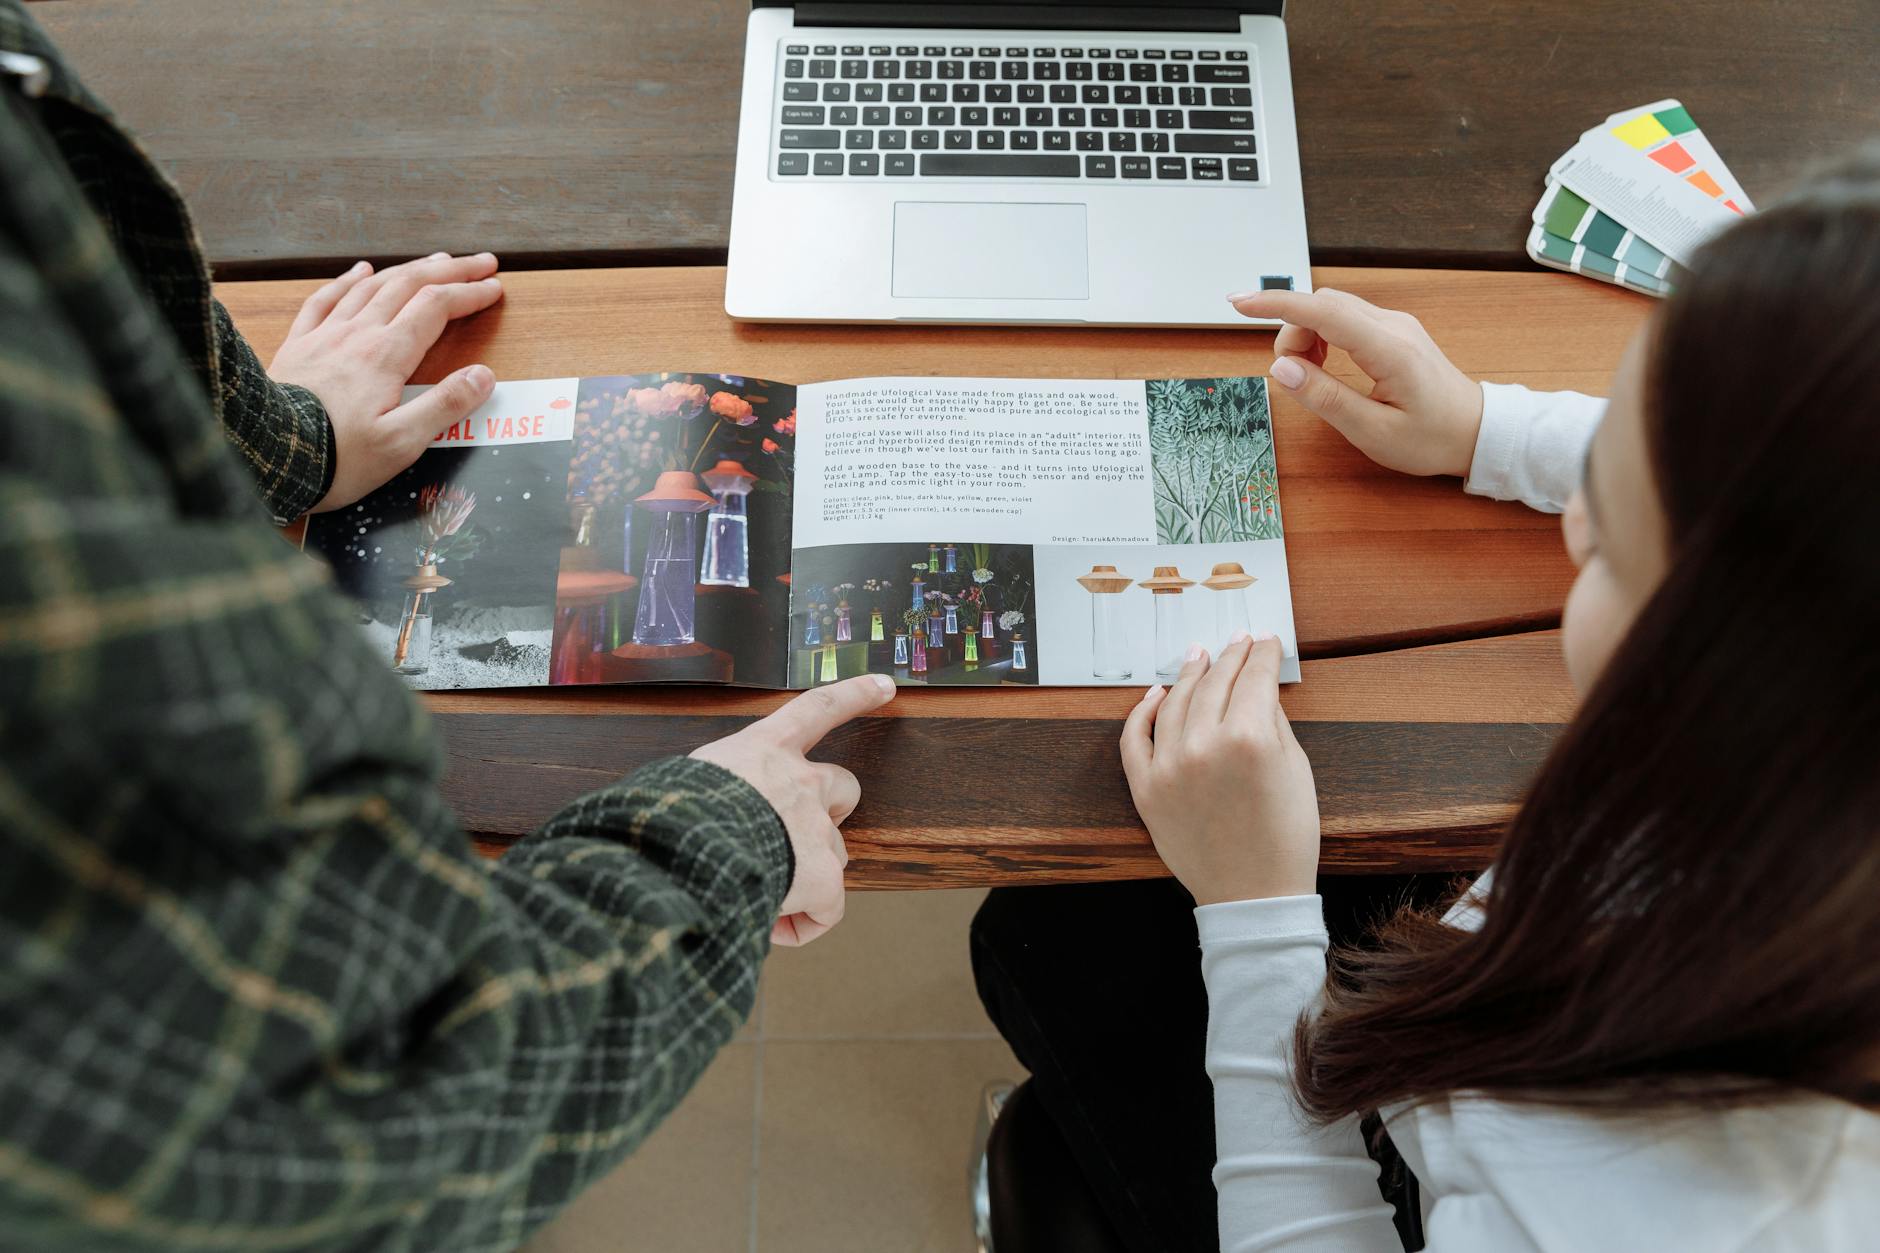
What Role Do Images and White Space Play in Professional Layouts?
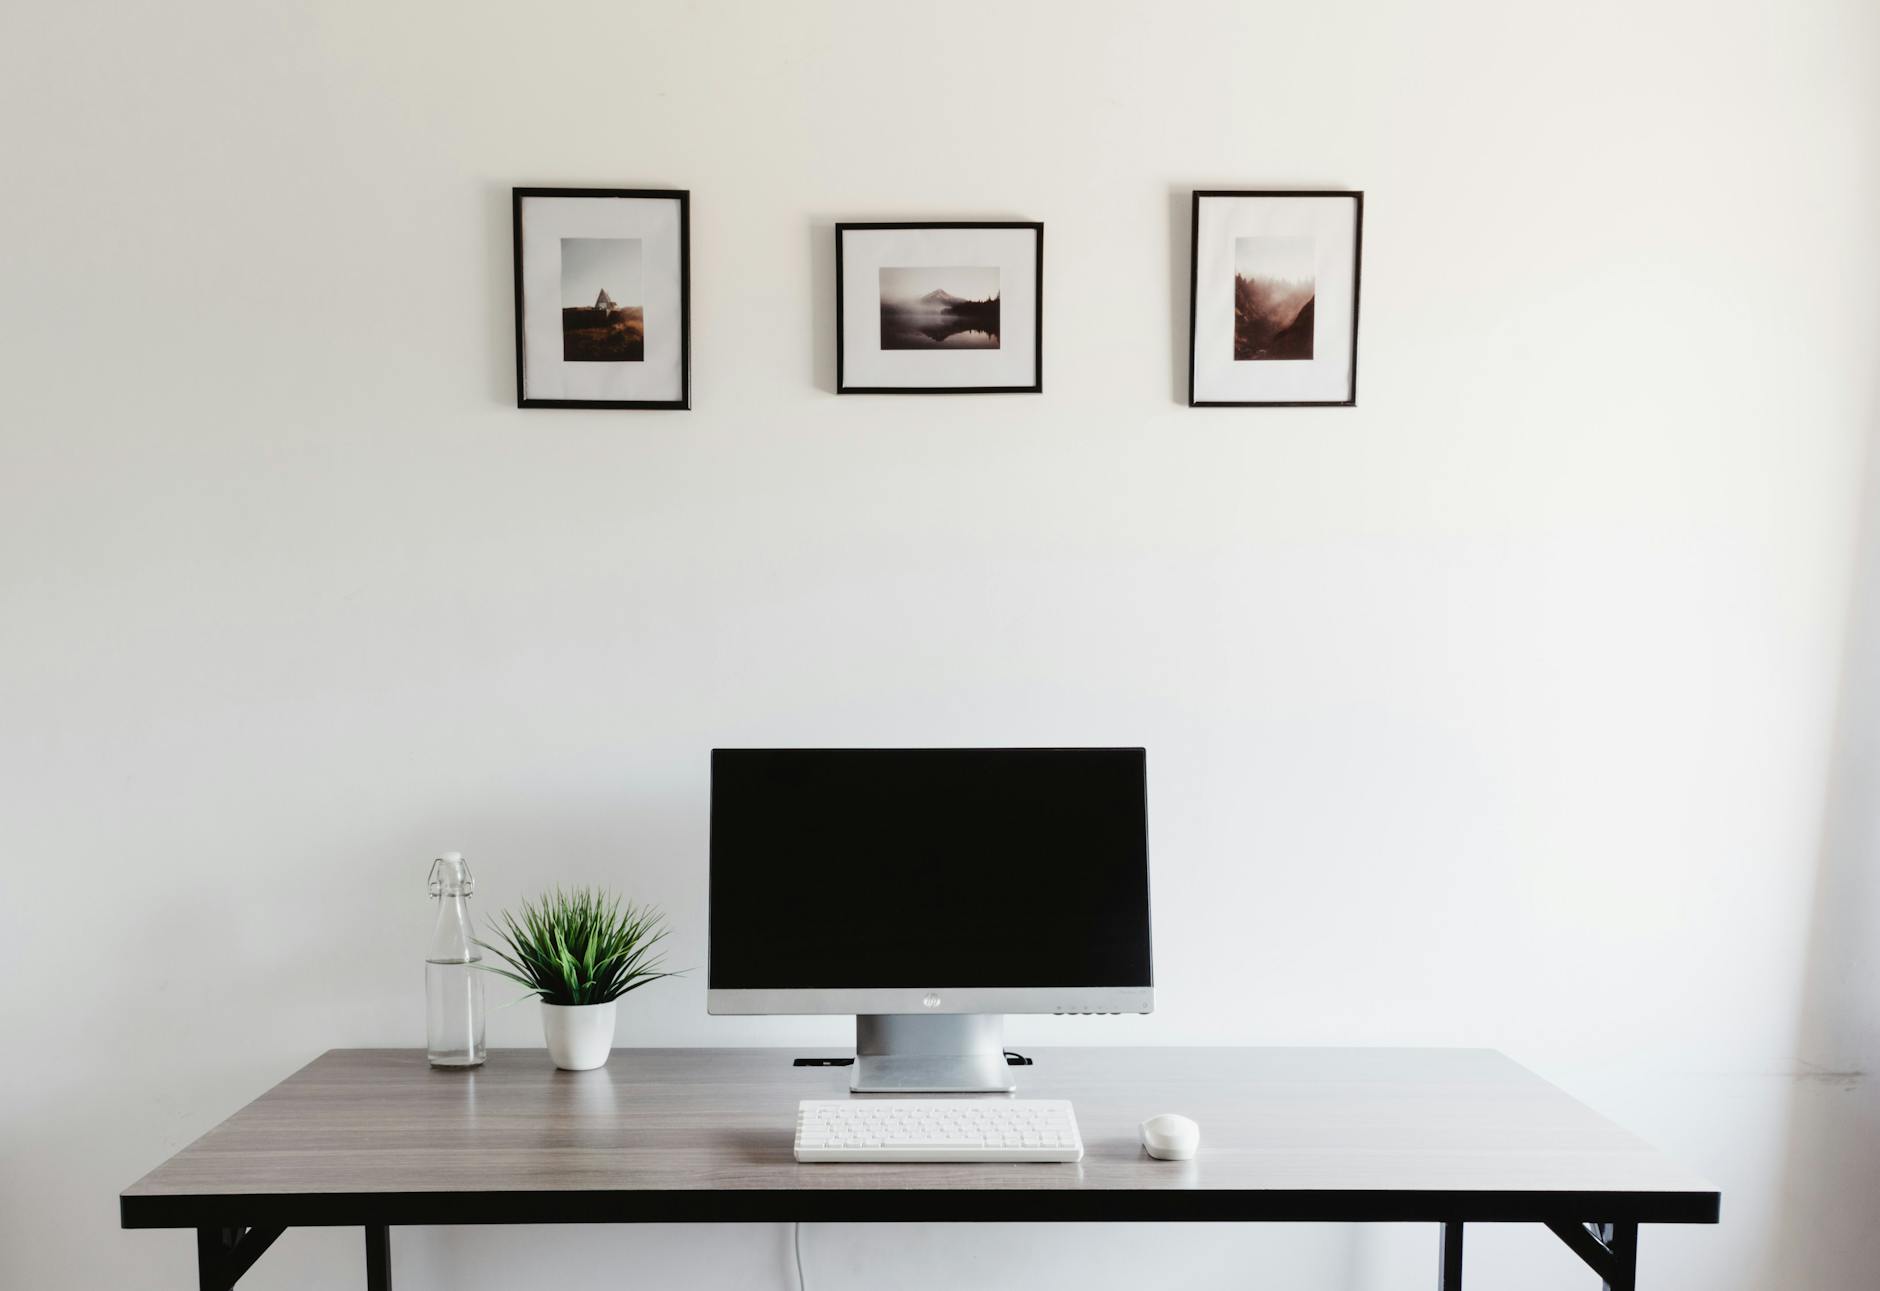
Images are often the first thing readers notice, so their placement and size directly affect how information is consumed. In a professional brochure, images should be intentionally sized and positioned—not randomly scattered or undersized to the point of being unclear. A travel company’s brochure might dedicate half of the front panel to a stunning destination photo with minimal text overlay, then use a grid of smaller images on the inside to showcase different properties or activities. The varying image sizes create visual interest while maintaining the grid structure underneath. White space—the empty area around text and images—is not wasted space; it’s a design element that makes layouts feel spacious and content feel important. Cramming every inch with information overwhelms readers and suggests the designer was unsure which information mattered most.
A luxury brand might use generous white space to convey exclusivity and premium positioning, while a discount retailer might use tighter spacing to communicate value and abundance. The choice depends on your audience and brand, but professional layouts consistently respect white space as a strategic tool. Image quality and resolution matter enormously for print. Every image must be at least 300 DPI (dots per inch) at 100% scale; lower resolutions appear pixelated when printed. A common mistake is placing a 72 DPI web image into a brochure and assuming it will look fine. When that brochure prints, the image looks muddy and unprofessional, reflecting poorly on the entire piece. Always source or create images at print resolution from the beginning.
How Do You Set Up Effective Master Pages and Templates?
Master pages in InDesign are the foundation of consistency. A master page contains elements that appear on every page using that master—logos, page numbers, footer text, column guides, and color backgrounds. When you create a left-page master and right-page master for a multi-page brochure, you can mirror your layout so the spine area is narrower on the inside and the outer edges have more white space. For example, a corporate capabilities brochure might have left pages dedicated to text explanations while right pages hold supporting images and testimonials. Creating variations of master pages—one for cover pages, one for content pages, and one for back pages—ensures your brochure looks cohesive while allowing flexibility for different content types.
A product catalog might have a full-bleed image master for hero shots and a columnar text master for product specifications and descriptions. The limitation here is that master page changes apply globally, so if you’ve manually overridden a master page element on individual pages, updating the master won’t affect those overrides. This creates inconsistency if you’re not careful; best practice is to avoid overriding master page elements whenever possible. Paragraph and character styles linked to master pages ensure that every headline, every body paragraph, and every callout uses consistent formatting. Rather than formatting text manually, you apply a predefined style, which pulls all its properties—font, size, color, spacing—from a single definition. This is what allows you to revise the entire brochure’s typography with a handful of edits rather than hundreds of manual selections.
What Are Common Mistakes in Professional Brochure Design?
One of the most frequent mistakes is inconsistent alignment. Elements that don’t align to your grid appear haphazard and undermine professionalism. This often happens when designers manually position objects by eye rather than snapping to guides. The solution is to enable “Snap to Guides” in InDesign and trust the grid; if something doesn’t align, adjust the grid rather than manually positioning the element outside of it. Another mistake is overusing special effects like drop shadows, glows, and gradients. While these can add sophistication when used sparingly, overuse makes designs look dated and cheap—a warning most designers learn through experience. Poor text wrapping around images is another common issue.
When text flows awkwardly around an image, leaving only two or three words per line, readability suffers and the layout looks amateurish. Rather than allowing text to wrap naturally around an image, group text into a separate text frame positioned beside the image, ensuring clean line lengths of at least 40-50 characters. This requires more intentional layout work but produces noticeably better results. The final and most critical mistake is ignoring the actual printing process. Many designers create beautiful screen-based designs without understanding how colors shift, how fine lines disappear, or how thin fonts become unreadable when printed. Always request a color proof from your printer before running a full job. Understand whether you’re printing on coated or uncoated stock—uncoated paper absorbs more ink and can make designs appear duller. These seemingly small details separate work that looks professional in print from work that disappoints clients.
How Should You Organize Multi-Page Brochure Flows?
For brochures longer than a single fold, the page flow matters significantly. A typical three-fold brochure has a front cover, three interior panels, and a back cover, which requires planning how readers will encounter your information. The front cover should immediately communicate what the brochure is about; opening the fold, readers should find either a call-to-action or the beginning of your main message.
For example, a university’s program brochure might feature the campus on the front cover, then open to show admission statistics and program highlights, with the back cover containing contact information and a QR code. Creating a logical information hierarchy across pages—placing the most important information where it’s most visible—requires understanding how physical brochures are handled. The inside front cover (the first thing readers see when opening the brochure) is premium real estate. Some designers waste this space with unnecessary design flourishes when it should feature your strongest message or image.
Looking Forward: Digital and Print Integration in Brochure Design
Modern professional brochures often bridge print and digital. Designing for both print and PDF requires understanding that PDF files can include interactive elements—buttons, hyperlinks, videos embedded as links—while print versions are static. InDesign supports exporting to both mediums, but you may need to design slightly differently for each.
A brochure that will exist in both formats might include subtle visual cues on the print version directing readers to a URL or QR code for video content that would appear in the PDF. As design tools continue evolving, the principles of professional brochure layout remain constant: hierarchy guides the reader’s eye, consistent grids create intentionality, typography commands attention, and white space ensures breathing room. Mastering these fundamentals in InDesign positions you to create work that looks polished, communicates clearly, and reflects well on the brands and organizations you serve.
Conclusion
Professional brochure layout in InDesign is built on grids, typography hierarchy, and intentional use of color and white space. By setting up master pages, defining paragraph styles, and working consistently within your grid structure, you create layouts that appear refined and purposeful rather than random and amateurish. The software provides tools for consistency—swatches, styles, and linked text frames—that eliminate repetitive manual work and make revisions straightforward.
The gap between amateur and professional brochure design comes down to attention to detail: understanding margins and bleed, respecting white space, maintaining alignment to guides, and preparing properly for print. Start with a solid grid, define your typography hierarchy clearly, source high-resolution images, and avoid common pitfalls like inconsistent alignment or overuse of effects. With these fundamentals in place, you’re equipped to create brochures that communicate effectively and reflect positively on whatever organization or brand they represent.
Frequently Asked Questions
What’s the minimum resolution I should use for images in a brochure?
Images must be at least 300 DPI at their final printed size. A 4-inch by 6-inch photo should be 1200 by 1800 pixels. Never use images from websites or social media, as these are typically 72 DPI and will appear pixelated in print.
Should I use one font or multiple fonts in a professional brochure?
Use two fonts maximum—one for headlines and one for body text. Multiple fonts create visual chaos. The hierarchy comes from size, weight, color, and spacing, not font variety.
What margin size is standard for a professional brochure?
Use at least 0.5 inches on all sides as a safety margin, plus an additional 0.125 inches of bleed area for any color or images extending to the trim edge. This prevents important content from being cut during printing.
How many colors should a professional brochure use?
Limit yourself to three to four colors total, including black for body text. One primary brand color, one or two supporting colors, and black creates a professional palette. Anything more dilutes your visual message.
Can I design a brochure in InDesign that works for both print and PDF?
Yes, but with considerations. Export as PDF for digital, and export as a print-ready PDF with specific color settings for print. The PDF version can include interactive elements like links and buttons; the print version remains static.
How do I ensure text remains readable when printed on a colored background?
Use high contrast between text and background. Never place dark text on dark backgrounds or light text on light backgrounds. Test your design by printing a sample, as screen colors often appear differently in print.